Although the weeks of winter are waning, it will still be a couple of months before our gardens or local farmers’ markets have fresh spring greens. In the meantime, why not sprout yourself some crisp fresh veggies for salads, sandwiches, wraps, or for topping everything from pasta to tacos?
I started sprouting a couple of years back as a way to get my own crisp greens in the winter, when I sometimes get tired of what I have frozen or canned from the garden, and just want something raw and fresh! I generally prefer to grow my own food, but some of you may be wondering ‘why not just purchase sprouts at the grocery store’?
To that I say:
- Sprouting yourself is cheaper.
- Home sprouting gives you control over your food supply.
- Sprouts are space efficient, even a tiny studio apartment has room to grow your own.
- Sprouts are prone to bacterial contamination (E. coli, Salmonella, etc.) from either the water used to grow them (sometimes recycled waste water) or the conditions they are gown in. By producing your own, you can ensure this contamination doesn’t occur.
- You can grow whatever sprouts you want, and may have trouble finding at the store.
- You can keep many varieties growing at once and harvest before maturity, providing a potentially constant supply.
- As long as they are sprouting, they will not go bad (unlike purchased sprouts which should be eaten rather quickly).
- They look super cool on your counter-top, like kitchen terrariums.
- I am sure there are more reasons…
Some people sprout grains for other reasons, such as bread making. Although I purchase sprouted breads sometimes—they are the only vegan ones I can find around here—I have never made sprouted bread myself. Lightly sprouted grains are also used as a source of rejuvelac, which is made from fermented sprouted grains and either used/consumed directly or used to make cultured nut cheeses and things. I also sprouted some ‘wheat grass’ for my cat recently using whole spelt kernels (I am not a wheat grass or drinking my food sort of person).
This post deals solely with sprouts used as a veggie that can be added to many, many recipes. Although, some people may refer to seeds as ‘sprouted’ when simply soaked and swollen kernels that may or may not have a visible sprout (e.g. in the grains-for-bread-making context) here I deal with the full tiny plant sprout. Sprouting literally livens the food, and there is certainly something majical about turning a dried lentil or other seemingly ‘dead’ food into a little plant just by adding water.
In addition to giving life, the act of sprouting also changes a seed’s chemical profile and produces certain nutrients, vitamins or other bioactive compounds not available from the seed itself (through complex biochemistry I will not get into, but is super-interesting if you chose to delve further). This is particularly true of some B-vitamins (B1, B2 and niacin), and other factors such as enzymes—which aid in digestion and other bodily functions, or amino acids—the building blocks of proteins; making sprouts and their proteins more available and digestible. A single sprout also holds a higher nutritional value, per unit weight/volume, than a fully-grown plant from the same seed. Think (simplistically) of nutrients becoming diluted as a plant grows. Sprouts have a remarkably high nutrient and mineral density. They are also high in dietary fibre.
I like to eat them when they become little plants with tiny green leaves (at about 6-7 days, also when they are said to be most nutritious), but you can easily modify the length of time you sprout to your tastes, and I often start eating them around day 3. You can easily, but gently, remove some sprouts when younger and continue maturing the rest. An unlimited number of harvests can occur in a single grow cycle, as long as you have enough to satiate your appetite.
This winter I started using a very quick, easy and efficient sprouting method. All it requires is a large mason jar (or two, or three) with a ring lid, and some sort of netting. You can also use a large pickle jar or something (glass only please) and secure the netting with rubber band. I use door screening for the netting, but an old tutu or bridal veil or something would also work as long as it is clean (you are only draining or adding water through it, so the contact time is minimal for leaching).
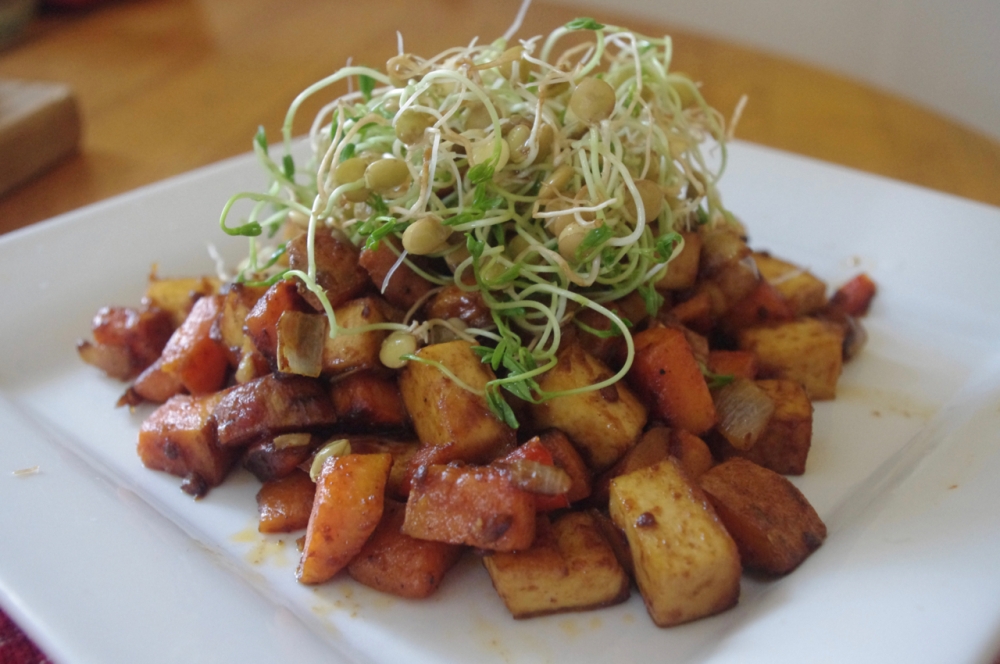
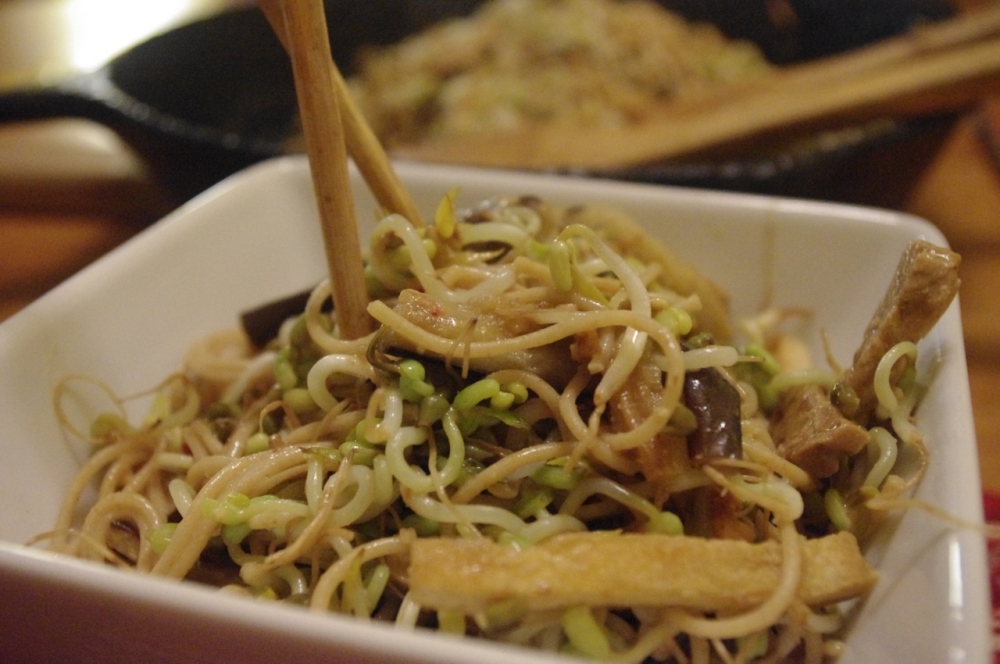
My favourites seeds for sprouting (and some of the quickest) are green lentils (not the split ones), which I use for sandwiches, wraps or as a topping on anything; and mung beans, the traditional bean sprout used in Asian cuisine (noodles, spring rolls, soups, crispy ‘rib’ topping…). I also recently sprouted radishes, which have a nice bite; and broccoli sprouts, which are being touted by some as a new ‘superfood’ due to their sulforaphane content. They also, much like their Brassica family relatives, contain high levels of glucoraphanin , which has been linked to cancer prevention among other health benefits.
Radishes, broccoli and other Brassicas (cabbage, cauliflower, Brussels sprouts….) require quite a lot of seed for sprouting and can be expensive if you don’t have a bulk source—you need at least four seed packages to get a good sized batch (half a seed pack provides enough for a single small sandwich that you wish had more sprouts). Sunflower seeds (raw and de-shelled) are also quite good and versatile, but take a long time to really get a good sprout (nearly two weeks), and they get a strange unappetizing flavour if left until the second leaf emerges.
I generally prefer to sprout things I already have lying around the kitchen, seeds like dry beans and lentils are inexpensive and work very well (the bigger the seed the fatter the sprout, lentils are nice and fine). Grains will be grassy as they are in the grass family, Gramineae, but nice for cats. I have been meaning to try quinoa and buckwheat, which are not ‘true grains’ and may sprout wonderfully (or may not). However, I always seem to have other plans for my quinoa and the buckwheat I have is toasted (‘kasha’) so likely won’t germinate. Some people refer to sprouting nuts, but I believe this refers to the simple soak and swelling described above.
I suggest trying to experiment with seeds of all sorts and finding what you like. However, beware of flax or chia using this method as they thicken the water and clump together, needing to be sprouted using different methods (i.e. spread out thinly).
So, while you are awaiting spring, bring some fresh sprouts into your life—they are the closest vegans will get to eating something alive ; )
Materials and Methods (can easily be doubled, tripled…)
1 Large Mason jar with ring lid, OR up-cycled large (1 litre min.) glass jar and a couple of thick rubber bands
A square of netting/screening (about 15 cm x 15 cm; larger if using a wide-mouth jar)
½ cup of raw dried beans or seeds (mung beans, chickpeas, whole lentils, peas, soybeans, hulled sunflower, radish, broccoli, alfalfa, garlic, onion, whatever you like or have around).
Add seeds to the jar.
Place the netting/screen over the jar mouth and attach using the ring lid or rubber bands. The lid doesn’t have to be all the way down or perfectly straight, but should be on firmly—it won’t be removed again until you start harvesting.
Through the netting, half-to-quarter fill the jar with cold fresh water.
Pour out the water (rinse), shaking to ensure adequate drainage (some seeds such as lentils like to block the screen in a layer).
Fill the jar with ¼ to ½ with fresh cold water.
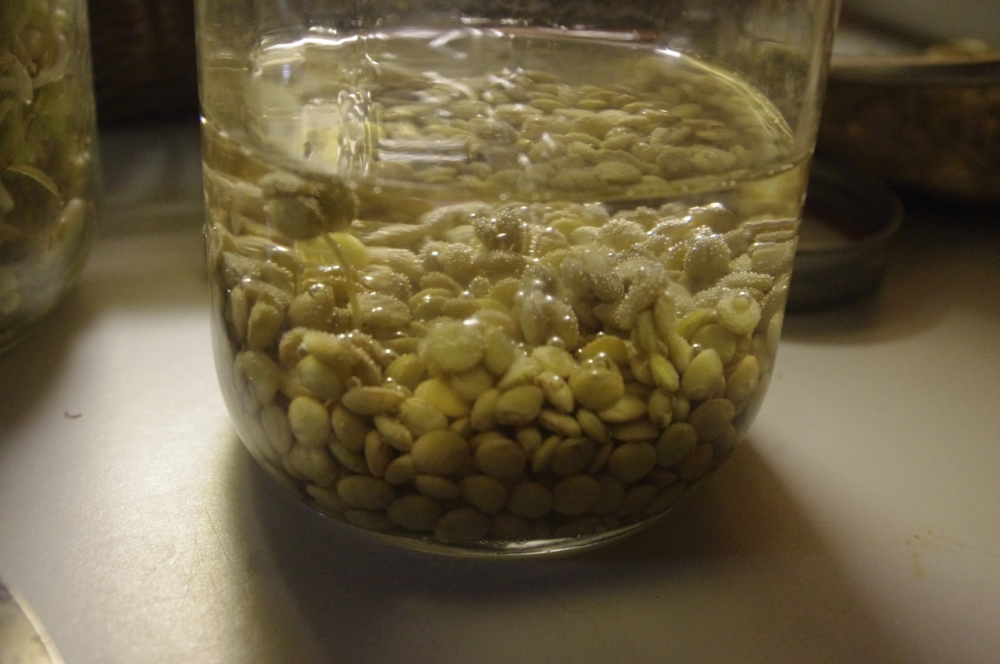
Place the soaking seeds in a corner of the kitchen out of direct sunlight for at least 8 hours (overnight). I used to cover them, but found it isn’t necessary, just keep them somewhere shady and preferably not too warm‑like over a vent or stove).
After soaking, pour the water out of the jar through the screen at the top, draining completely. Don’t be afraid to shake.
Add cold water to the jar, at least enough to cover the seeds, swirl around and drain again (shake). This ‘rinsing’ is then repeated once a day until your sprouts are ready. Also continue to store in a shady place. Don’t be afraid to shake the jar to drain even as sprouts form; you are not only adding water, but rinsing the sprouts—bacteria can develop if there is excess standing water in the jar.

Try the sprouts whenever you chose and return the lid to continue sprouting/rinsing the others.
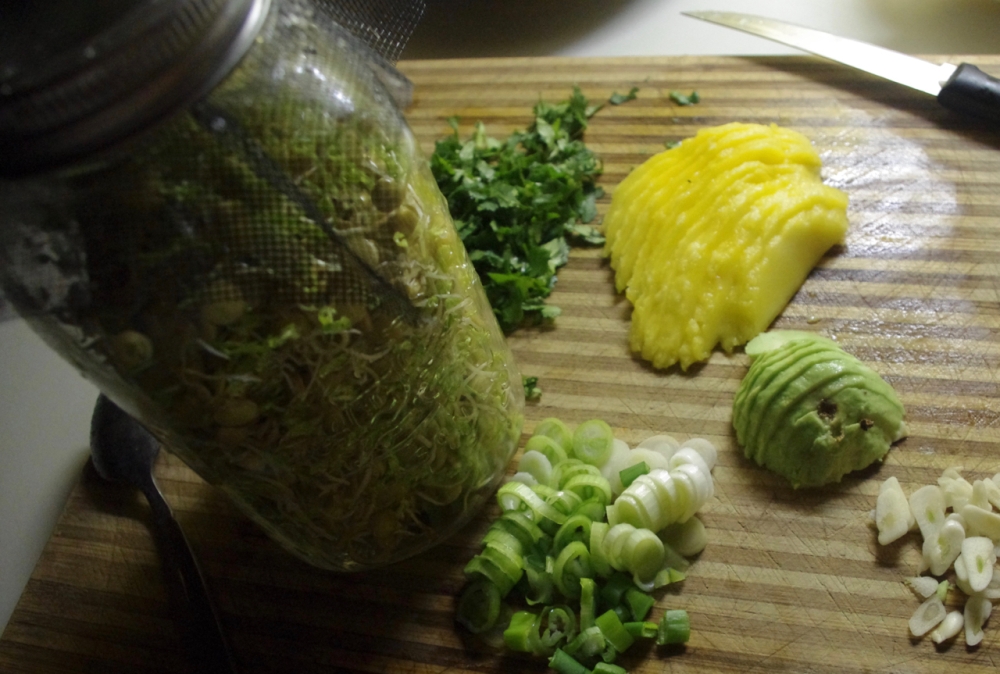
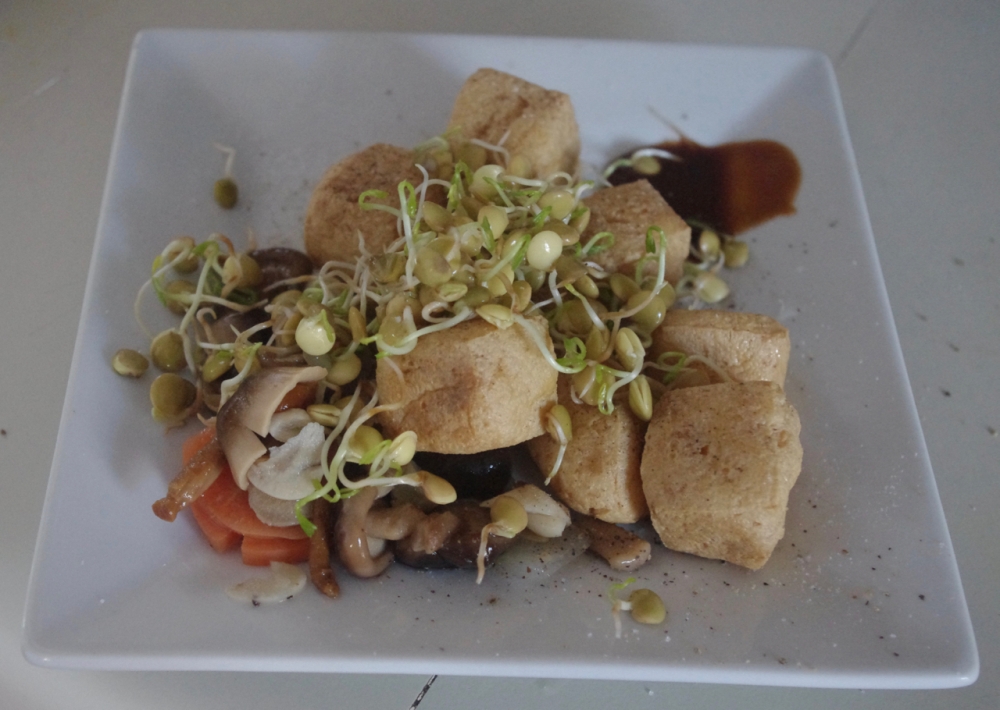
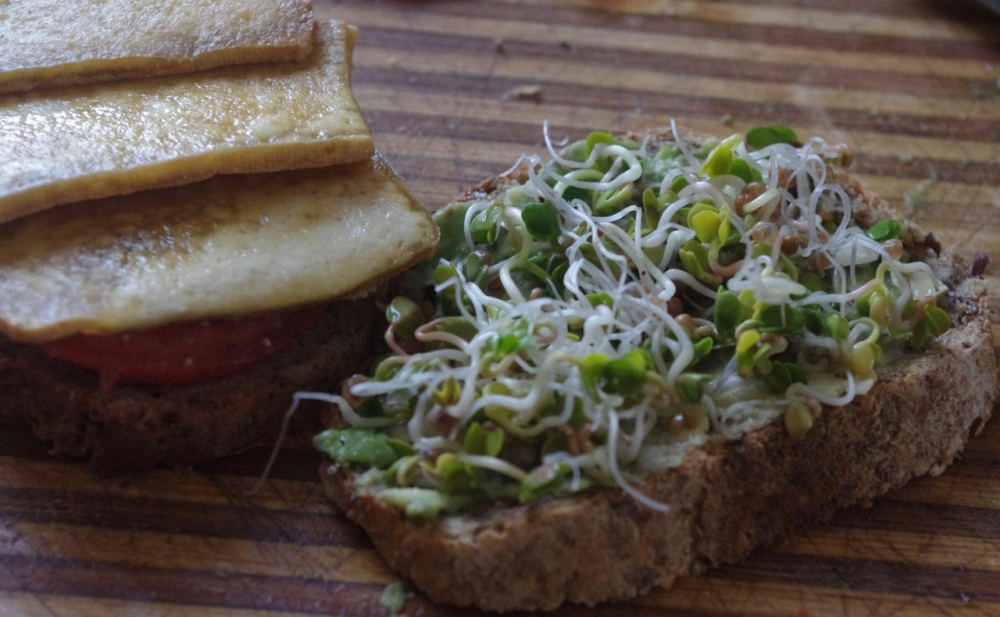
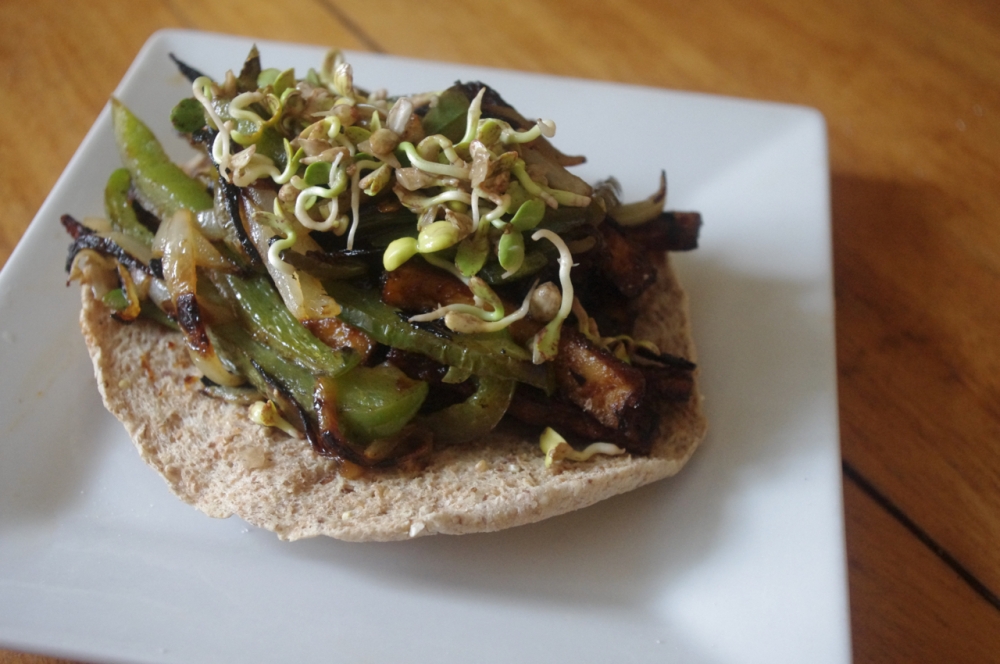
Use on sandwiches, wraps, noodles, soups, salads, burgers, rolls, as garnish to unite different leftovers, or with/on whatever you chose. Some of the photos will hopefully provide some inspiration.
Happy sprouting and fabulous eating everyone.
